DIY Nail Decals Tutorial – Winter Wonderland Snowflakes
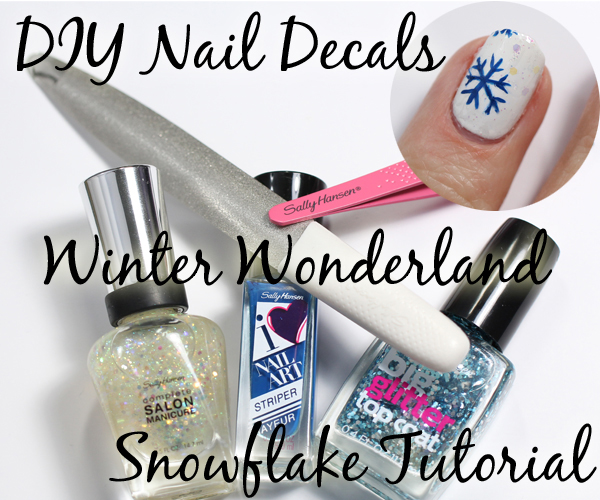
DIY Nail Decals Tutorial
It’s a beautiful sight, we’re happy tonight, walking in a winter wonderland. Living in Ohio, I have a love/hate relationship with snow. For the most part, I appreciate the beauty of it and, given my hair’s hatred of humidity, I welcome the cool, crisp air. Granted, I’m fortunate to work from home so I’m not scraping ice off my car or shoveling my driveway on the daily.
Giving a nod to our current state of wintry bliss, I DIY’d a snowflake nail decal for a Winter Wonderland Manicure. When it comes to nail art, straight lines are easy-ish but, on a curved nail, a pattern like a snowflake can be a challenge to get even.
That’s why I like creating my own decals off the nail. I can perfect the pattern by having both hands free to steady the background and brush. Plus, I have a trick that takes the guesswork out of freehand nail art. Keep reading to see how I created this fun and simple look.
![]()
Products & Tools Used
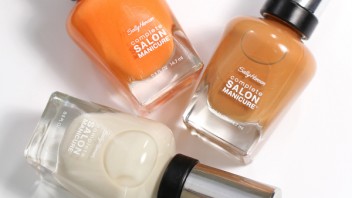
To get the look, you only need a handful of polishes and tools. I started with a base of Sally Hansen® Complete Salon Manicure™ in Let’s Snow (not pictured) on my nails and then used Sally Hansen Complete Salon Manicure™ in Snow Globe as my decal base, Sally Hansen I Heart Nail Art Striper in Blue to create the decal pattern, Sally Hansen Big Glitter Top Coat for my other nails and the Sally Hansen Raise Some Brows tweezers and Sally Hansen Ahead of the Curve file to place and trim the decal.
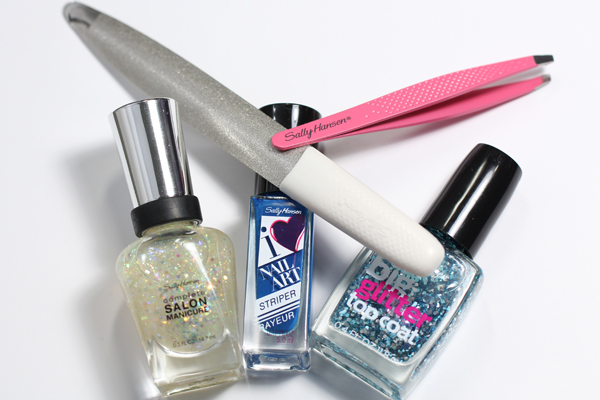
Sally Hansen Tools and Nail Polish
![]()
DIY Nail Decals Tutorial

DIY Nail Decal Tutorial
Get The Look
- Begin with a base of Let’s Snow on all nails. I used three coats. Let it dry completely
- On a plastic sandwich bag, paint a strip of Snow Globe, a little larger than your nail. Extend a bit at the top to create a tab for easier removal. Let dry a few minutes.
- Create your design using the blue striper polish. You can freehand or print off a pattern to trace. I used this snowflake pattern so my lines would be evenly spaced. Let dry fully. I waited about an hour.
- Use your tweezers to lift the dried decal off the plastic. You may want to slide it under the entire decal first to make sure it will remove in one piece.
- Place the decal over your nail, with the pattern side down and press down using the side of the tweezers. The tackiness of the dried decal will help it adhere. Tip: Applying the pattern face down on the nail will prevent smearing when you add top coat.
- The sharp tip of the tweezers is perfect for removing any excess from around the cuticle line
- And the sapphire nail file is perfect for creating a smooth free edge
- Finally, add a layer of top coat or another coat of Snow Globe over the deal to seal it in.
- Finishing touch: layer Snow Globe and the Big Glitter Top Coat to the other nails to give them a sparkly, wintry feel.
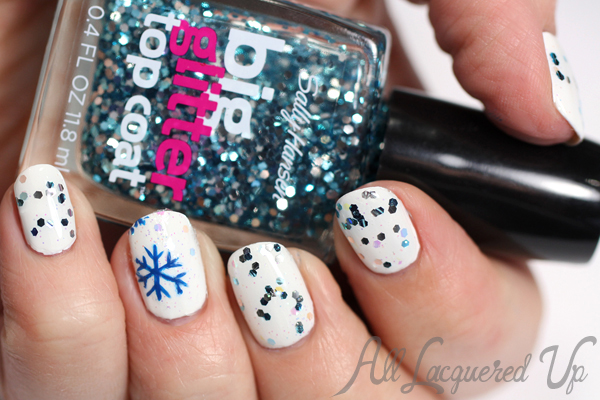
DIY Nail Decals – Snowflake Nails
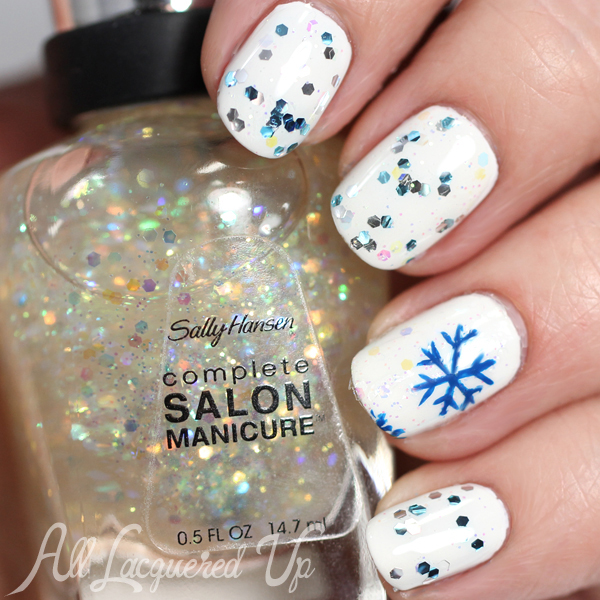
DIY Nail Decals – Snowflake Nails
![]()
Have you tried creating your own nail decals before? Do you have any technique tricks to share?
Where are you at with your relationship with snow this season? If you live in a warm climate, do you miss having a white winter?
The Sally Hansen products featured can be purchased at drugstores and mass retailers nationwide. For more info visit SallyHansen.com
Disclosure: This post was sponsored by Sally Hansen in affiliation with Style Coalition. Product samples provided by Sally Hansen. For more info view my Disclosure Policy.



















OK Michelle, I need some more details… I’ve tried the sandwich bag method thing for doing marbled nails, and could NOT peel it off very well. I used actual Ziplock brand bags as that is what I generally have. It was last summer, but if I remember right, the dang polish just did NOT want to peel off or separate from the bag at all. What bags do you use, or do you have a trick to getting the polish and bag away from each other? And I love the look of this nail and now feel like I need that Big Top Coat… I was planning on doing some sort of snowflake pattern tonight anyway, and I might mimic you lol
Hi Amanda! I also used a Ziplock bag. I think the key for me is creating a tab at the top with the polish so I can dig at it with my tweezers without worrying about messing up the design. Once I get it started, I just slide the tweezer blade around the decal to get it lifted up without tearing. It might also have to do with the base you use. I find that quick dry top coats stick and get brittle but using clear polish or glitter polish is much more flexible. I hope that helps!
That’s gorgeous!
Thank you Lisa! Glad you like it
The snowflake nail decal is so lovely! Love this blog, DIY is full of fun.
Thanks Ornella!
Using a sandwich bag is genius! I can’t believe it really is as easy as letting it dry. May be the key to my whack free hand. QUESTION: how do you clean a striper between colors? Mine always turn to cement unless I use soap and water immediately after remover, and sometimes I have to chuck the striper after the whole Mani is done.
I just use remover to clean my brush. If it gets stiff, I just roll it with my fingers and it softens right up.
I just walked the dog. So hot and humid here in St. Petersburg, FL, with a strong chance of rain. I would prefer crisper weather, but I find snow is much more fun to visit than live in.
Love the tutorial. I’ve never tried the method, but have toes that need some tlc. Thanks!
That’s how I feel about NYC. Fun to visit, wouldn’t want to live there.
Hmm.. this is a good idea! I love nail art I’m a righty and my left hand is basically useless when it comes to this kind of thing, lol. This might be worth a shot!
That’s how I am. Doing anything too technical with my left hand is a challenge
Genius! Love your little snowflakes!
Thank you! It was fun to do
What snowflake pattern did u use? Link you put goes right back to tour tutorial. Looks grea!
Sorry, for some reason I had the wrong link. It’s been corrected
Great tutorial I’m going to try it asap
No snow where I’m from – Miami! I get really excited when I go on trips up North in the Winter and see snow. I can understand your love/hate relationship with it because even though i adore seeing snow I don’t think it would be fun to shovel and deal with daily! This is a beautiful snowflake tutorial. I def have to try this out! Thanks
What’s snow??? I haven’t seen any in many years except in pictures and on tv. I would LOVE to get some real snow here in Houston!!!!! Love the tutorial though!!